Thursday, October 14, 2010

Model 21 False Lashes, UD Black Palette, Urban Decay Primer Potion

I have been wearing false lashes for the past few days and I LOVE it. I just received my shipment from Model 21 False Lashes (I placed the order with them about a week ago) and I tried one of their lashes today.
These false lashes are really inexpensive! I mean, I am talking 10 pairs for 7 dollars or so... can't beat that! Also the website offers free shipping when you buy 3 of the same lashes AND if you buy 4 they give you a set for free... so that's what I did, I ended up buying 60 pairs of lashes for less than 30 dollars!

This is what the packaging looks like.

These are the ones I tried on today.
My first impression on these lashes is the little band that glues all the hairs together seem to be thick but I am keeping an open mind... I'll let you judge if you see the thick band yourself!

I really like how this ones look, the center is thicker than the rest of it, and I think it looks pretty awesome when they are on!
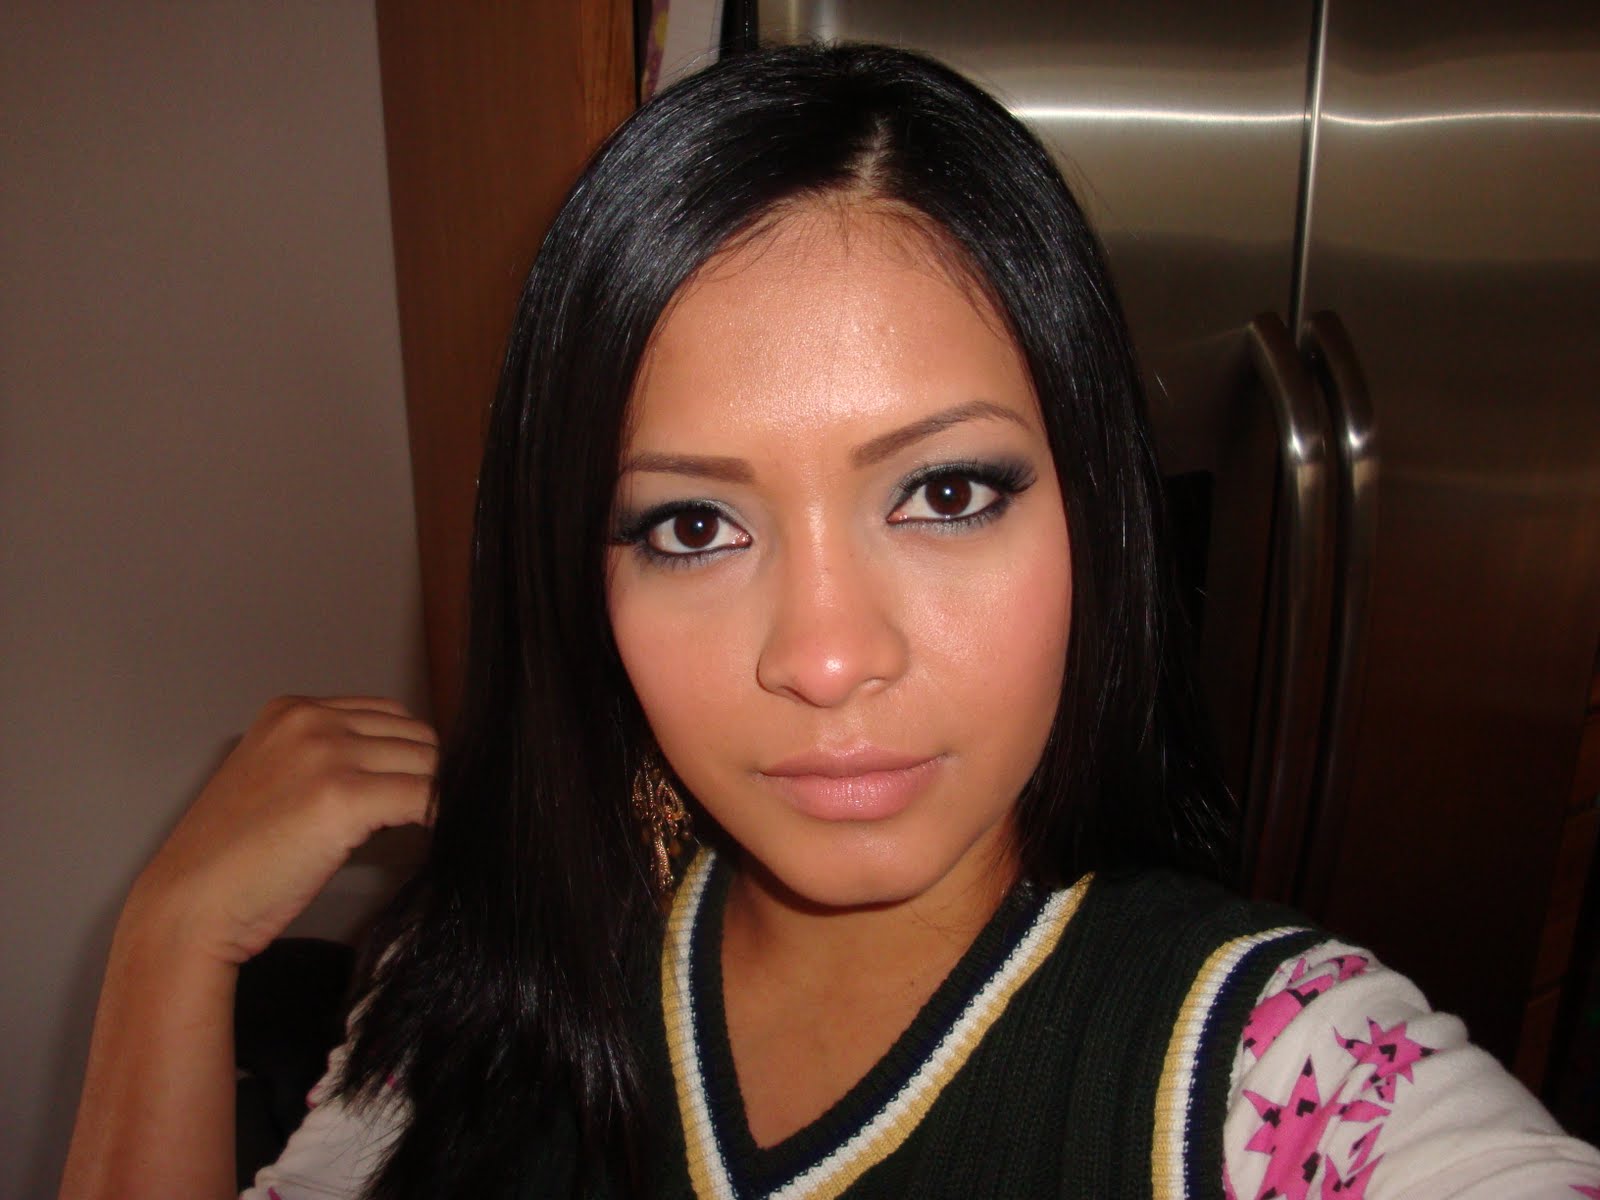
Anywho, let's get to the photos:

By the way, I am wearing a couple of the shadows in my Urban Decay Black Palette AND I used the Primer Potion that came with it, more on that later.
I LOVE this shadows!! Check out this colors! If you haven't bought your Urban Decay Black Palette do it now! It's only for sale for a limited time!

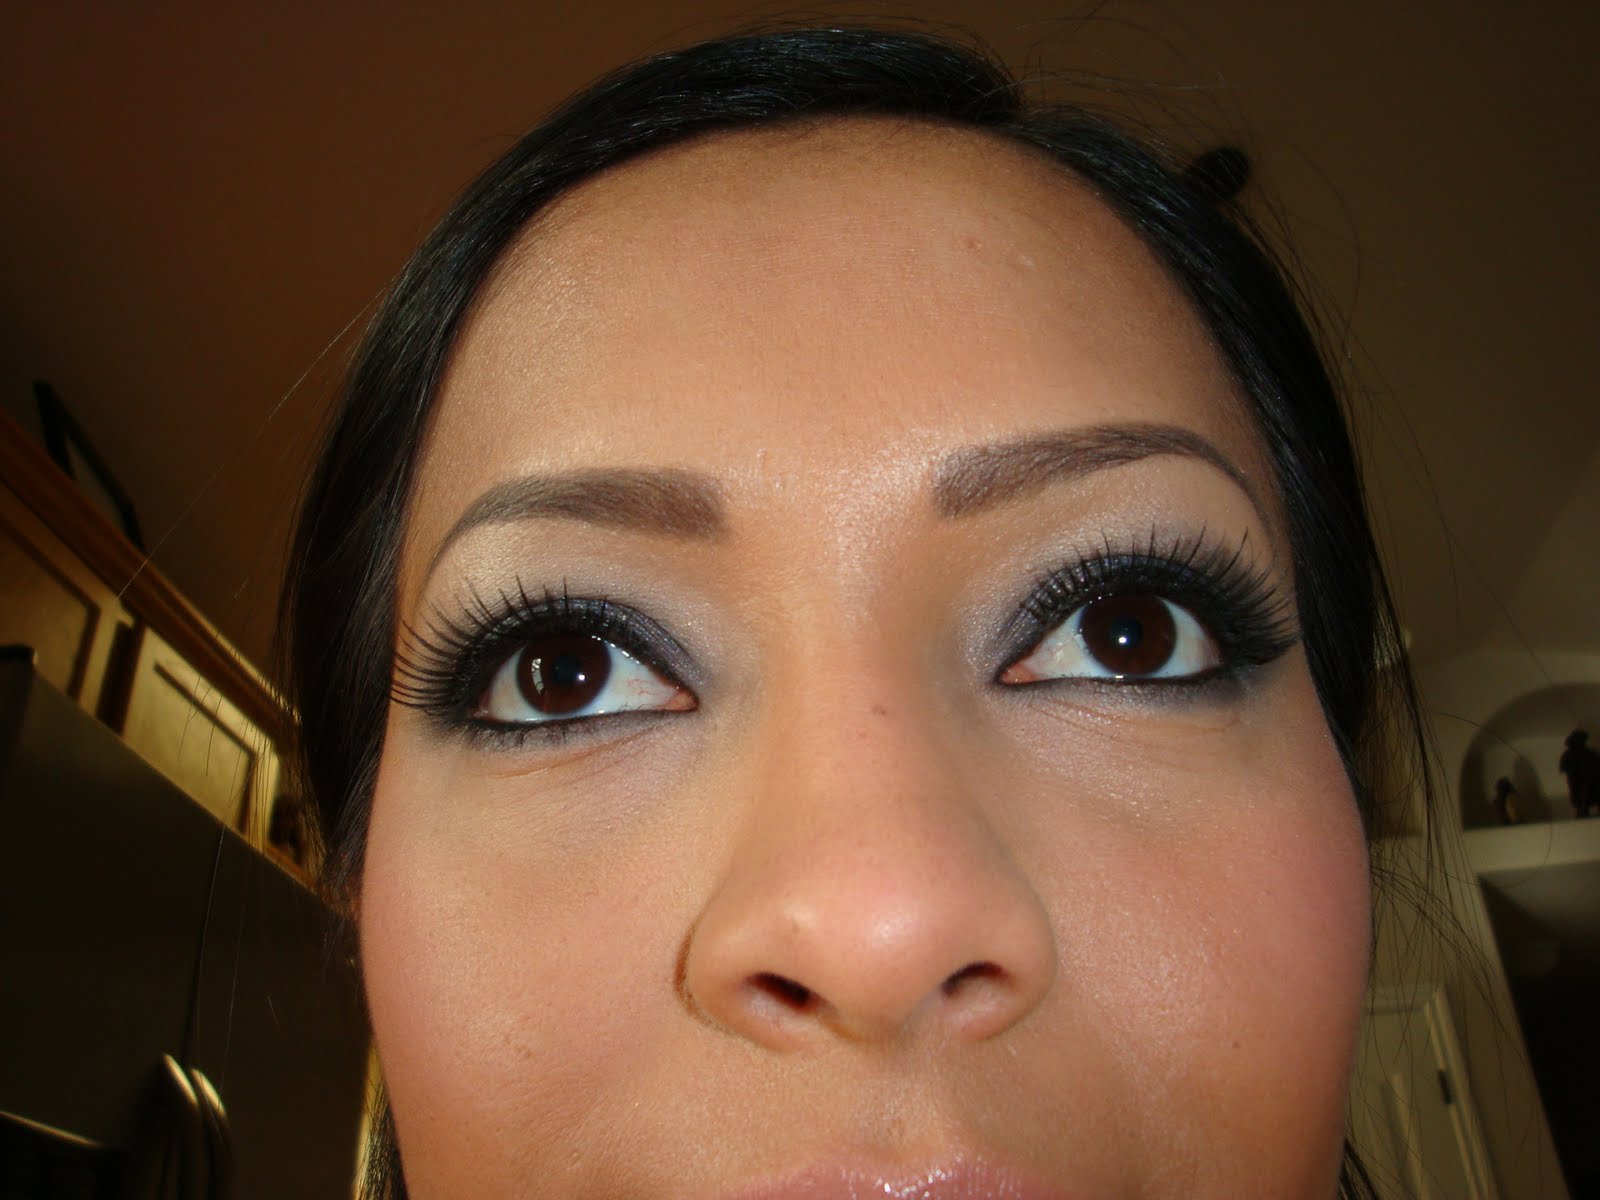
Back to the lashes. What to we think? I really like how they look. I am still new at doing this but I think that as I get to practice more they'll be easier to apply and maybe I'll get them to look more natural, although I think they look pretty awesome right now, don't you think?

I know, you can see my real lashes on this one, but hey! I am still learning. I am going to try curling my own lashes before applying the false ones.

Another angle! Seriously, I love this shadows!
On a different note:
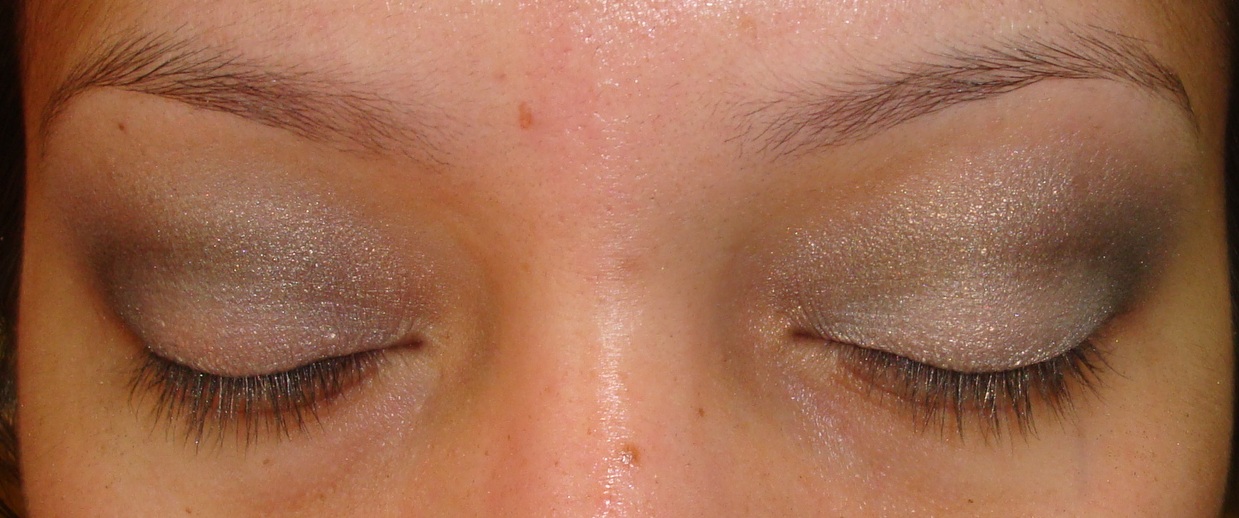
I was quite dissapointed to see how my Urban Decay Primer Potion did on my lids.

Maybe I didn't apply enough? I don't know, but look at the evidence:

This is 6 hours after doing my makeup. I don't know what happened but this, my friends, is strike ONE... I'll try it two more times, in different ways, and see if it works. This has never happened to me with my Mac Paint Pots!

Sunday, October 10, 2010

Trying Yerba, from Urban Decay


Kind of a scary photo, haha! What do we think of the false lashes? I am getting a lot better at applying them and this set is SO much more comfortable the the first one I used.

Also, what do we think of my foundation? This is Shiseido Liquid Sun Protection. I really like it. I just noticed I am going to have to stop using bronzer since my foundation is starting to look darker than my skin because I am not getting enough sun light to get a tan.

And, this is the smokey look from the Smoke out palette from Urban Decay. I followed the instructions step by step and I like it a lot, although it doesn't look quite as green as I thought it was going to be. What do you all think of this look?

New obssesion: URBAN DECAY

Lately my friend Carla and I have been talking a lot about makeup and she got me HOOKED on this brand that is new to me: URBAN DECAY. I have heard tons of great things about their products but until now I only owned one of their shadows. Anyways, here is my latest Sephora shopping spree:

URBAN DECAY SMOKE OUT KIT IN YERBA

This little palette is really affordable if you are new to the brand and want to try out some of their shadows without investing too much money. This costed me $15.00 dollars and it comes with 4 mini shadows, a mini mascara, a mini eyeliner, a mirror and instructions on how to achieve a smokey eye.

The packaging is actually really cute. It fans out to show its contents.

This kit has a white shadow, a silverish shadow, a skin tone one and a dark green one also.

It also comes with a little brush to apply your shadows with and a mini eyeliner in ZERO. The eyeliner is really creamy, I am really liking it.

A mascara that I haven't tried yet.

And it has a little drawer that has the instructions of the smokey eye look in it, very cute.

My only problem with this palette is the size of it! I guess I should have expected it to be this small being that I paid so little for it but it was still shocking to see the tiny little shadows. I do like the colors a lot though.

Anyways, here are the swatches, you can only see the bottom ones. Right above the silver looking one there is the skin tone shadow which you obviously can't see and for some reason i like that! Is that weird? I think I might have found the perfect skin toned eyeshadow! Now if only it had a name!
I like the colors a lot in this kit, the green shadow (bottom swatch) is so intense it almost looks black! And they've paired it with a silver shadow, I would have never thought of that kind of combination but I am so excited to try it!
URBAN DECAY BLACK PALETTE

Ok, you all know I am OBSESSED with black eyeshadows! My favorite look is smokey eye with black shadows or anything super dark, so when I heard about this palette I had to have it! It retails for a good $36.00! I thought about it for a few days but I am weak and ended up buying it. This palette comes with 6 shadows that are all supposed to have strong hits of black in it and a super hyper matte black shadow that they names Black dog... so when I heard about this specific black shadow I was really interested but I honestly thought "How different is this one really going to be compared to my smashbox black eyeshadow, or my BH cosmetics one?" I mean, a black shadow can only be so black, right?? WRONG!! I thought my smashbox palette was pretty great (and dont get me wrong, it is!), but next to this one it just doesn't compare.

Here are the colors. I must say that even thought this looks like a splurge of money it was actually a really good deal. I think each Urban Decay shadow retails for 17 dollars each!!
It also comes with an eyeliner in ZERO (black) and a mini Primer Potion (which I have been wanting to try for the longest time!).
Lets get to the swatches:

I really like all of the colors, they are all extremely pigmented (not kidding you!), I mean, look at that black! I only put a tiny bit on the brush and got that much intensity, I was quite impressed!
To top it all off I decided to compare it to the black eyeshadow from my Smokebox palette from Smashbox AND to my ZERO eyeshadow from Urban Decay. Let's see the results:

Top: Smashbox. Middle: Zero. Bottom: black dog.
Need I to say anything??
I will say this though: I was SO dissapointed to see how ZERO wasn't as pigmented as I once thought it was!

Bottom line: I absolutely LOVE this palette!

Thursday, October 7, 2010

False Lashes...?

So, I've decided to give false eyelashes a try. I've never had those on before but lately I've had the "bug" for them and while at walmart yesterday I picked up a couple of pairs to try. So, what do you all think??

I don't know how "natural" they really look, but this is my first time trying them.

I know, this is NOT a pretty photo. I love how fanned out they look!

Overall, I do like how they look, they are not too comfortable at first but a couple of hours after wearing them I barely feel them.
I will say this though: Walmart eyelash glue is not very good! I will try some different lashes and glues and write a review on it in a few days.

Saturday, September 11, 2010

Kim Kardashian's Kimmel Look!

I was browsing through youtube yesterday and came accross this video of Kim Kardashian and her makeup artist and they were showing step by step instructions on this look that she is currently loving. They've named it the "Kimmel Look" because its the look she wore when she was on his show. I've worn this look twice and I love it! I didn't have the same stuff she uses but I was able to use my own products and make it work, so you can too!
Unfortunately, I wasn't able to find a photo of her with this look and I know I don't look anything like her but I do hope you like it and maybe try it!

I know, it's been a while, right! Having a brand new baby at home is so much work! Needless to say it is a lot more work having a baby AND a toddler!

I really am trying to come up with new looks to post, so please be patient!

Here is a side note that I can't wait to share: If you've seen my very first post on this blog you'll remember that I used to have to use a TON of concealer underneath my foundation... well... as of right now I am wearing no concealer whatsoever under my foundation! Can you believe it??!! I owe it all to my Clinique 3 Step Skincare System!

I will be posting later some new tricks I learned from that same video about foundation and blush application!

Ok, let's get to it! This is all the stuff I used. I am not posting photos of the brushes because I don't want you to go buy all the brushes just for this look... just use what you've got already, you can make it work!
Smashbox eyeshadow trio in Eyelights (this is one of my favorites right now!)
Mac Paint pot in Rubenesque
Mac Fluidliner in Blactrack
Sonia kashuk glitter compact (can't remember the name of it)
Estee Lauder mascara in Sumptuous (anothe new fave!)

Begin by applying a thin layer of the rubenesque paint pot on your lids, a little bit passed your crease.

Using a crease brush, apply a little bit of the black eyeshadow from the smashbox trio, working from the outer corner in, remember to apply a little bit at a time or you'll end up with a black very well defined line!

When you are done it should look something like this. Take your time blending and applying the black shadow!
With a smaller brush apply the lightest color in the smashbox trio on your lid, only in the part where you didn't put the black shadow.
With a different brush, apply the lightest color of the shadow trio on the outer area on the lid, blending any harsh lines. Again, take your time!
It should look something like this.

At this point, apply more black shadow on your crease if desired, blending it really well.

Using more of the lightest color on the shadow trio, highlight your brow bone.

This is what it looks like so far.

Now go ahead and apply eyeliner on your lower and upper waterline. I am using a gel liner, you can use a pen if you like, whatever works! Don't worry about being messy, we want that!
Using a pencil brush, dip it into the middle color of the shadow trio and start smudging away, as close to the lashes as you can. Do this only on the lower side of your eye.

Almost done!

You might not be able to see this but I applied a little bit of glitter shadow on the light area of my lid, under the crease, without touching the black shadow.

Let's line those eyes! using an angle liner brush, dip it in the black shadow and line your eyes, as CLOSE to the lashes as humanly possible. Go thicker on the outer corner and thiner as you get closer to your tearducts.

Just about there.

And finally, curl your lashes, apply a couple of coats of mascara and do your eyebrows!
I know it's a lot of steps but once you do this look or any other smokey eye look, it becomes second nature. I hope you like it!

Friday, August 27, 2010

Makeup for less

I found this great site where you can find brand name makeup for a lot cheaper than retail stores, be sure to check it out!
http://beautyticket.com/

Wednesday, August 11, 2010

Look of the week


Since I am busier than usual, I will try to do a "look of the week" as supposed to a "look of the day". Hope you all like it.