This is another of my smokey eyes look, I hope you all enjoy it as much as I did.


This is a list of the products that I used, feel free to use whatever you have on hand, no need to buy this specific products to make this look work: Mac Painterly Paint Pot (neutral color), Mac Blackground paint Pot (Black), Mac Blacktrack Fluidline (Eyeliner), Lancome Hypnose Mascara. As for the shadows, I don't have specific names for them, I use the dark gray and light gray from my Sephora Blockbuster Limited edition palette; and a couple of colors (neutral, skin tone and white shimmery) from my BH cosmetics 28 Eyeshadow neutral palette.

First step, as usual, start with clean eyelids.

Apply a neutral color shadow base all over lid, all the way up to your brow bone (Neutral Shadow base can be replaced with Eyeshadow primer). I am using Mac Painterly Paint Pot.

Apply a black shadow base as the picture shows. If you don't have black shadow base I guess you could skip this step all together and just apply the darkest gray shadow on that area instead.
Using a blending brush, try smoothing the harsh edges.


Using a smaller brush, apply a lighter version of the gray shadow on the rest of the lid, all the way to your crease.

Find an eyeshadow that's close to your own skin tone and using a blending or crease brush, apply it to your crease in windshield wiper motion, this will smooth the lines in your crease.

Apply a thin line of black shadow base under your lower lashes, not touching the inner third part of it.

Apply dark gray shadow over the the black shadow base under your lower lashes.

On the inner side of your eyes apply a white shimmery shadow. Blend well.


Apply eyeliner on your top and bottom water line, I am using Mac's Fluidline.


Apply a couple of coats of your favorite mascara.

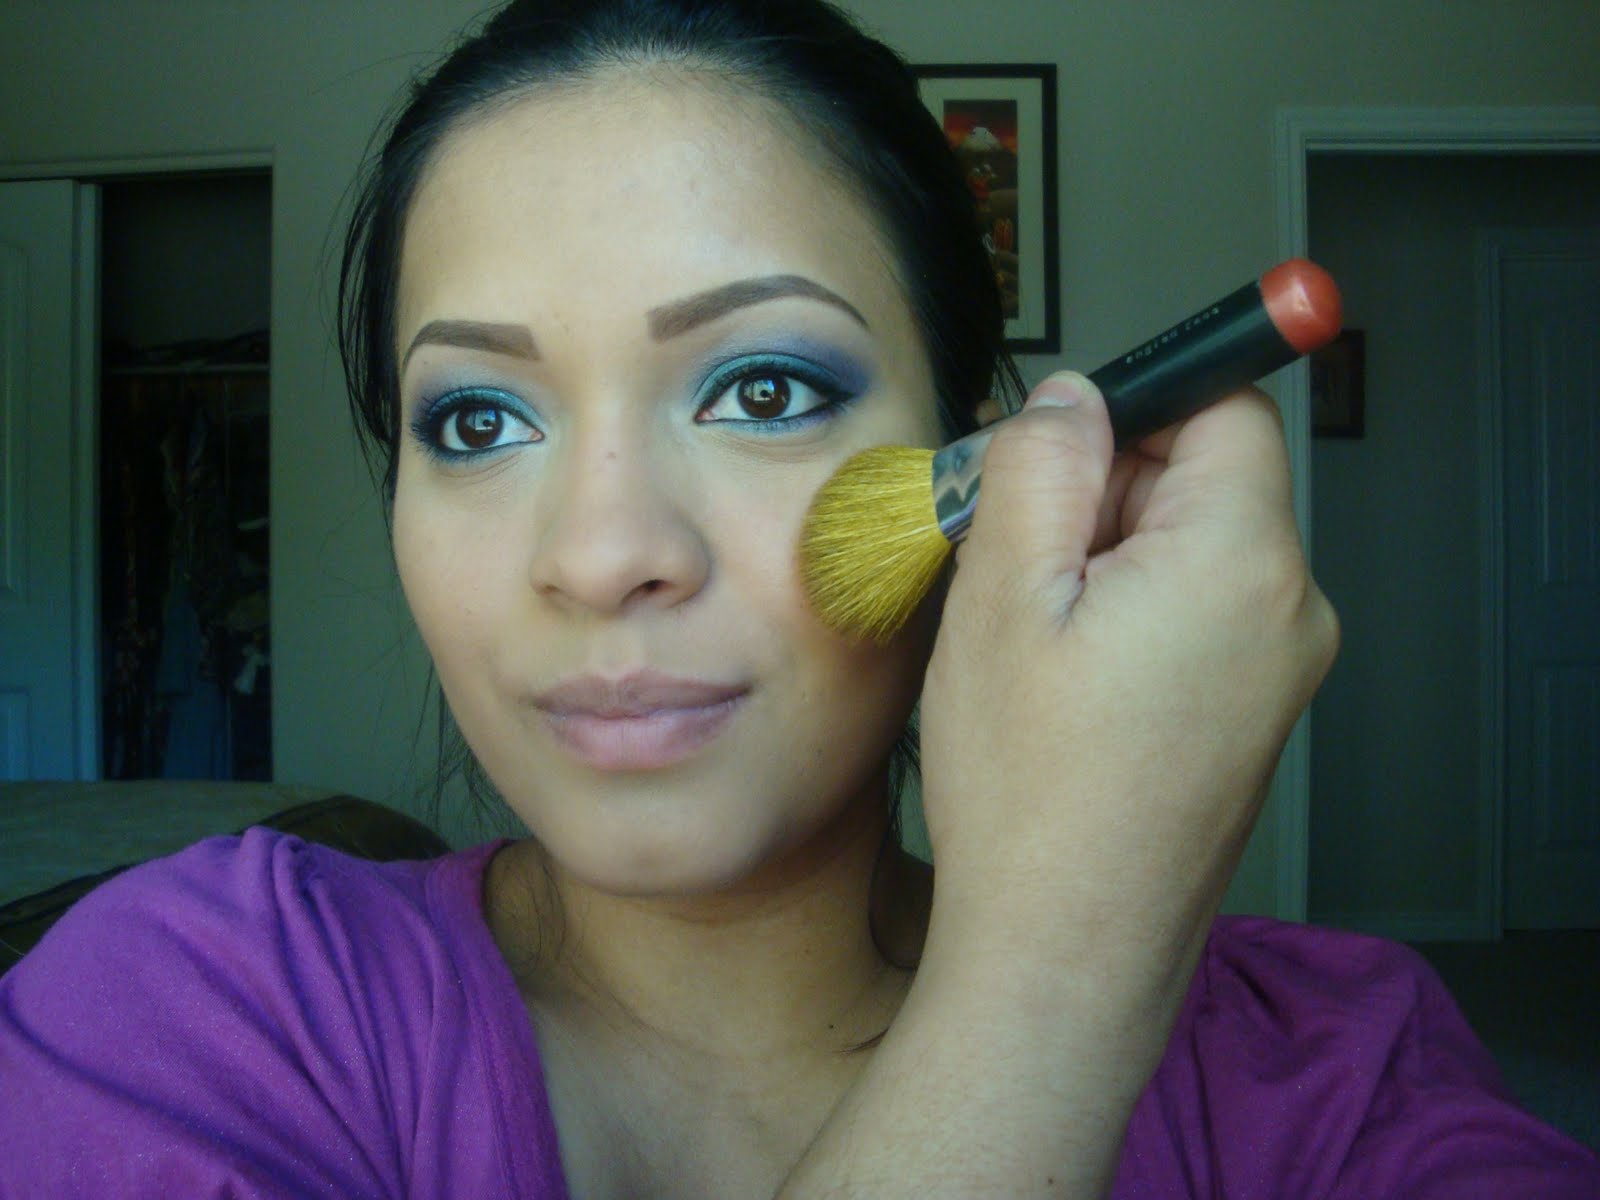
Final look! If you have any questions at all do let me know!


First step, as usual, start with clean eyelids.

Apply a neutral color shadow base all over lid, all the way up to your brow bone (Neutral Shadow base can be replaced with Eyeshadow primer). I am using Mac Painterly Paint Pot.

Apply a black shadow base as the picture shows. If you don't have black shadow base I guess you could skip this step all together and just apply the darkest gray shadow on that area instead.

Using a blending brush, try smoothing the harsh edges.

Apply dark gray eyeshadow over the black shadow base, the black base underneath will make the gray pop and look more concentrated.

Using a smaller brush, apply a lighter version of the gray shadow on the rest of the lid, all the way to your crease.

Find an eyeshadow that's close to your own skin tone and using a blending or crease brush, apply it to your crease in windshield wiper motion, this will smooth the lines in your crease.

Apply a thin line of black shadow base under your lower lashes, not touching the inner third part of it.

Apply dark gray shadow over the the black shadow base under your lower lashes.

On the inner side of your eyes apply a white shimmery shadow. Blend well.

Line your eyes. I went with a semi cat eye to make my lashes appear longer. Also, apply a highlighter shadow to your brow bone, I am using Shroom by Mac.

Apply eyeliner on your top and bottom water line, I am using Mac's Fluidline.

If your lashes are like mine, go ahead and curl them.

Apply a couple of coats of your favorite mascara.

Final look! If you have any questions at all do let me know!