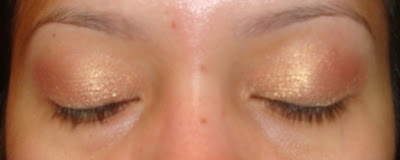
Unfortunately, I wasn't able to find a photo of her with this look and I know I don't look anything like her but I do hope you like it and maybe try it!

I know, it's been a while, right! Having a brand new baby at home is so much work! Needless to say it is a lot more work having a baby AND a toddler!

I really am trying to come up with new looks to post, so please be patient!

Here is a side note that I can't wait to share: If you've seen my very first post on this blog you'll remember that I used to have to use a TON of concealer underneath my foundation... well... as of right now I am wearing no concealer whatsoever under my foundation! Can you believe it??!! I owe it all to my Clinique 3 Step Skincare System!

I will be posting later some new tricks I learned from that same video about foundation and blush application!

Ok, let's get to it! This is all the stuff I used. I am not posting photos of the brushes because I don't want you to go buy all the brushes just for this look... just use what you've got already, you can make it work!
Smashbox eyeshadow trio in Eyelights (this is one of my favorites right now!)
Mac Paint pot in Rubenesque
Mac Fluidliner in Blactrack
Sonia kashuk glitter compact (can't remember the name of it)
Estee Lauder mascara in Sumptuous (anothe new fave!)

Begin by applying a thin layer of the rubenesque paint pot on your lids, a little bit passed your crease.

Using a crease brush, apply a little bit of the black eyeshadow from the smashbox trio, working from the outer corner in, remember to apply a little bit at a time or you'll end up with a black very well defined line!

When you are done it should look something like this. Take your time blending and applying the black shadow!
With a smaller brush apply the lightest color in the smashbox trio on your lid, only in the part where you didn't put the black shadow.


With a different brush, apply the lightest color of the shadow trio on the outer area on the lid, blending any harsh lines. Again, take your time!
It should look something like this.

At this point, apply more black shadow on your crease if desired, blending it really well.

Using more of the lightest color on the shadow trio, highlight your brow bone.

This is what it looks like so far.

Now go ahead and apply eyeliner on your lower and upper waterline. I am using a gel liner, you can use a pen if you like, whatever works! Don't worry about being messy, we want that!
Using a pencil brush, dip it into the middle color of the shadow trio and start smudging away, as close to the lashes as you can. Do this only on the lower side of your eye.

Almost done!

You might not be able to see this but I applied a little bit of glitter shadow on the light area of my lid, under the crease, without touching the black shadow.


