
Let me start by showing you what my face looks like without concealer or foundation on. Also, I have combination skin, this means, is oily on my T zone (chin, nose, and forehead) and dry or normal everywhere else. The reason why I am wearing eye makeup is because I didn't decide to start my blog until after I did my eyes, and NO, I don't usually do my eyes first, I just did it like this today because I am using pretty bright colors and I find that I have less issues with eyeshadow fallout if I do my foundation routine after, see? that's just one of those things that you learn on your own after making many, many mistakes.

My very first step (after having washed AND moisturized my face, of course!) is applying a very thin (I mean it, very, very thin) layer of Clarins Instant smooth perfecting touch all over my face, except for my nose. This thing is amazing on my face, its supposed to make your pores and fine lines appear less noticeable, and it does that for me, but that is not the reason why I use it. I just recently started using "liquid" foundation, I used Bare Minerals foundation for about 3 years (If you would like a review on this, leave a comment), and changing from a powder form to liquid just brought a whole list of issues to take care of to make it look perfect, for instance, how to apply it, what to use to apply it with? how to make it last? and the main issue for me was getting rid of those dang dry spots that liquid foundation can bring or show. So, after trying many different foundations, brushes, moisturizers, lotions, etc, I came accross this miracle cream from Clarins, I did a lot of research on it before buying it (it's not the most affordable thing out there) and after using it for about a week I decided this is the best thing out there to take care of my dry spots. It was a little hard to learn how to apply it, but believe me, once you learn, you will love it! One thing to keep in mind is that this cream is extremely moisturizing (I think that is what made my dry spots dissapear), so you need to be careful where you apply it, because it can make you look oily if you put it in areas where you already have oils.
Anyways, after applying it you are supposed to let it sit on your skin for a while, I dont, I go right straight to the next step, I found this works better for me.

The next thing I do is apply Primer... I can NOT emphasize enough the importance of wearing a primer right before applying any makeup on your face. It is extremely important for two reasons: 1st: It will prepare your skin for a flawless application, it will, depending on what kind of primer you use, help the appearance of your pores and leave your skin smooth and ready for concealer and foundation; and 2nd: Primers act as a glue that will keep your makeup on a lot longer than if you just wore your makeup without a primer (I hope that made sense), so if you are wondering what one of the secrets to make your makeup last for hours and hours, this is it!
I have a few different brands of primers, but this is one of my favorites: Mac Prep and Prime with Spf 50. So I go ahead and apply a thin layer all over my face. Now I am ready to apply any makeup on!

Once again, this is my face, showing all of my imperfections, if you notice, I have blemishes and acne scars that I need to hide. It's kind of hard to see it in this picture but the area around my nose is really red, so I will show you how I get rid of it:

This is my Make Up For Ever Concealer Palette in #1.
To conceal your inperfections the right way you need to learn how to counter act colors, I don't know all the basics yet, but I know enough to make it work for me: Here's the scope: If you want to conceal redness, you need to use green concealer. If you want to conceal purples (like undereye circles and veins), you need to use a concealer with an orange undertone. So, on that palette I use mostly the two colors on the ending right.

This is what I look like after concealing all the imperfections that need concealing. I look dumb, I know! Oh, btw, I use a small concealer brush that I bought at Target, I forgot to take a picture of it, but it's a studio tools and it costed me 2 dollars I think.

This is the foundation I am using at the moment: Lancome Teint Idole Ultra. This is a Full Coverage foundation and it's supposed to last 14 hours.
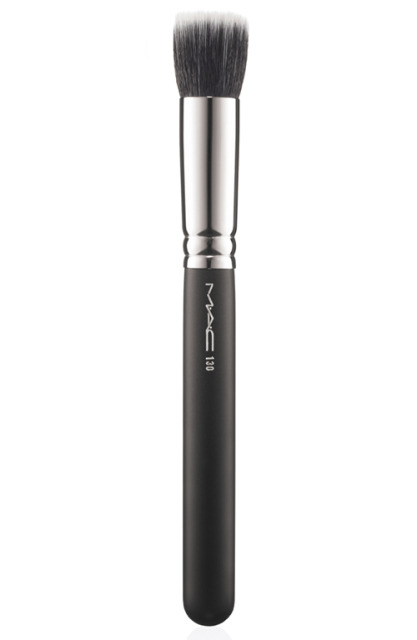
And this is what I use to apply my foundation with. This is a Mac 130 and I absolutely love it. It was a big investment but worth every penny. I have tried applying my foundation with your normal foundation brush, dry sponges, damped sponges, fingers and none of those things looked as nice as applying it with this brush.

This is just showing you half of my face with foundation and half without it. See the difference??

Something I need to mention is that I stipple my foundation onto my face, I dont do the swipping motions, yeah, it takes a little longer to do it like this, but you definitely see a difference in the final look. You could swipe your foundation on if you like, but I find that if I do it like that, all of the concealer that I applied earlier, just washes away.

Undereye concealer

I use Laura Mercier's undercover pot in # 3. The two concealer on the top are as follows: Left: All over face (I don't use it, I like my MUFE palette better). Right: Undereye concealer. I love this, it is so smooth and glides on nicely under my eyes. And lastly, the little powder in the bottom, this is a finishing or setting powder specially made to be used with this concealers, I use it only under my eyes, applying a finishing powder on after concealer or foundation will help it set and stay on a lot longer.

Using my ring finger I grab a small amount...

... and I start very gently dabbing it onto my undereye area. Be careful, the skin under your eyes is very sensitive.

Next, I apply the finishing powder under my eyes.

I use a Bareminerals "Heavenly Eye" brush. You can use whatever you have on hand.

And Tah Dah! Foundation and concealer application complete! I know it doesn't look quite right yet, but remember, I haven't done my eyebrows, or haven't applied blush or lipstick yet.
In the next post I will show you how to do your eyebrows.
Peace out!
Luisy did you like bare minerals? I have always wondered if it is worth trying out . . . I am going to have to try out the clarins smoother! Great lesson! You look beautiful as always!!!
ReplyDeleteHi Emily! I just posted a whole review on the Bare Minerals foundation. I hope it helps you!
ReplyDeleteAs for the Clarins, I absolutely love it, it will take you a few days to learn how to use it but once you learn you will love it, I have no dry spots on my face at all since I started using it!
Thanks for reading my blog!
Lui, amiga!!!
ReplyDeleteDo you think you could SOME DAY do a review on Revlon's color stay liquid foundation and post up-close pictures? I've heard such good things about it but I rely a lot on your recommendations so I want to know what you think of it and if you would recommend it. And also I can't really afford to spend so much on high end foundations. Gracias!!!-Carla